Repairs and Maintenance. On this page :
Seized Hardy Spicer universal joint.
Rusty mudguards and stays.
Oils, greases and gaskets.
Seized Hardy Spicer universal joint.
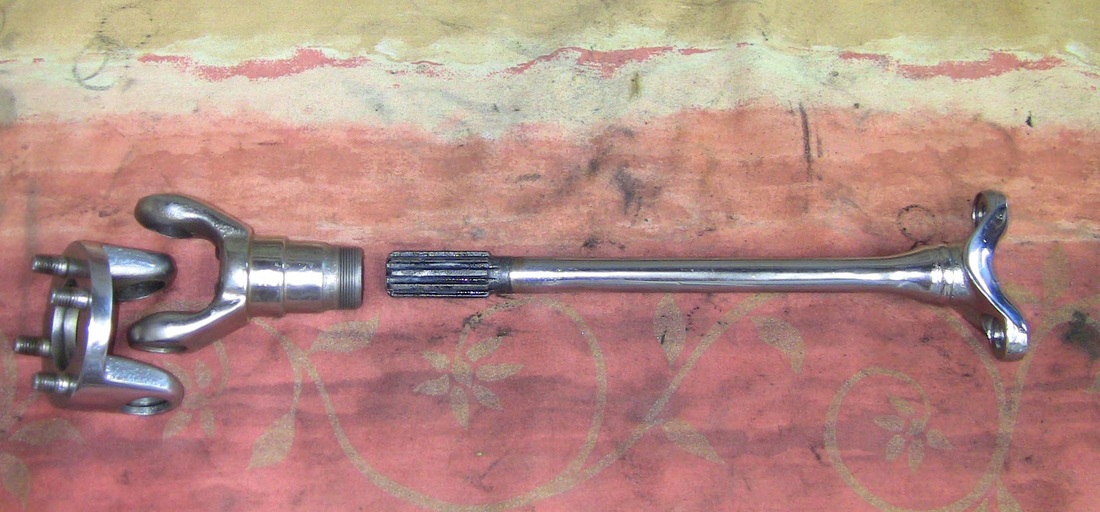
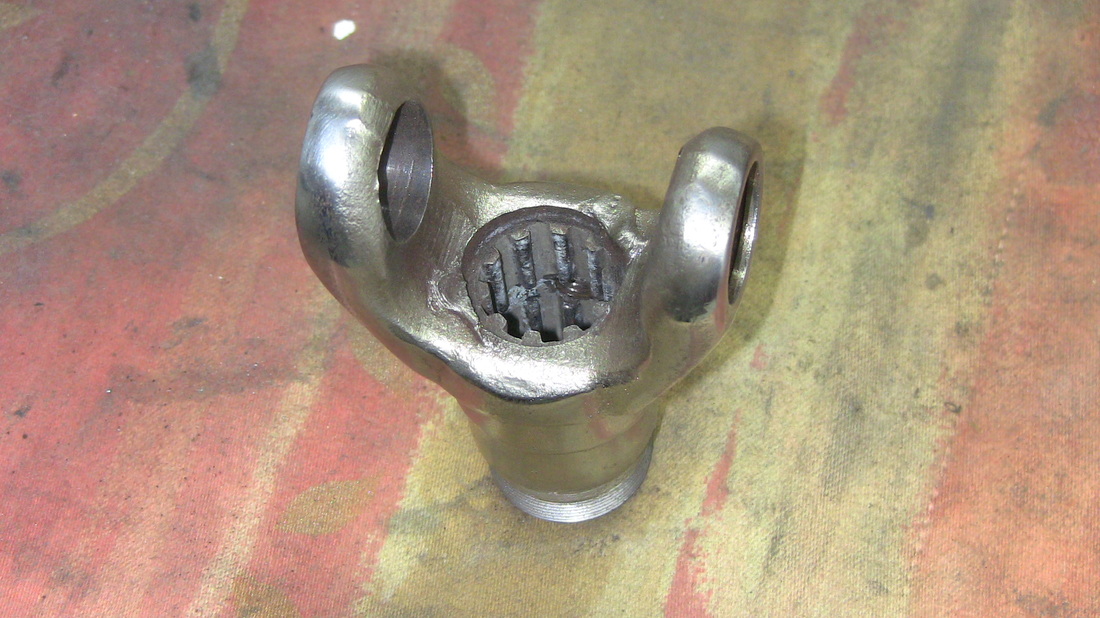
Upon stripping the gearbox on my 1949 Sunbeam I found that the bearings on the output shaft had been sliding in their housings. Fortunately the bearing housings are steel sleeves. I discovered the prop shaft was unable to slide on it's splines in the Hardy Spicer universal joint. The rear suspension travel is limited to just over an inch which the prop shaft linear motion can accomodate by sliding in the universal joint. The splines and the joint were seized solid. The photograph shows the inner end of the splined part of the Hardy Spicer. This originally had a metal cap tacked on but the weld did not go all round. Over the years the ingress of dirt and water seized the prop shaft hence the only linear movement was the gearbox bearings sliding in their housings.
Parting the two parts required patience. my local corner shop sells Plus Gas, hard to find these days. I left the prop shaft standing upright with the Plus Gas in the open end of the Hardy Spicer, it required several top ups over a period of two weeks. I started to heat the assembly with an electric heat gun and again left it topped up with Plus Gas. It eventually started to move after repeated heating and doses of Plus Gas. When the two parts were cleaned they were sent off to the plating shop. The splines on the shaft had extra plating and were left unpolished. I did not replace the metal cap on the Hardy Spicer ! The whole assembly is now checked and greased frequently. Picture below shows the prop shaft finally out with very little damage.
Rusty mudguards and stays.
I knew when I first got my Sunbeam home in the Spring of 2011 that I would have a major job with the mudguards. The rear mudguard had been drilled for several varieties of seats, saddles,pillions and assorted carrying racks. It was also riddled with rust. After getting it down to bare metal, I came to the conclusion that patching with glass fibre would not be the answer. The answer lay in Asda economy large baked bean tins. Not being a lover of processed food, the lady next door fed her children free for several days on baked beans on toast. The tins were cut up with 'Gilbow' shears and flattened. The good thing about bean can metal is the fact it is tin plated mild steel, to stop rust. So I brightened the metal inside the mudguard and with the aid of plumbers solder and flux and a very large 100 watt soldering iron I tacked the shaped pieces of bean tin over the holes.
The sticks of plumbers solder were obtained from a well known web auction site. The use of the soldering iron allowed me to add solder tacks round all the tin plate edges. The solder iron was an Antex rated at 100 watts, again obtained from that well known web site for around five quid. I left two holes for the rear turn indicators.
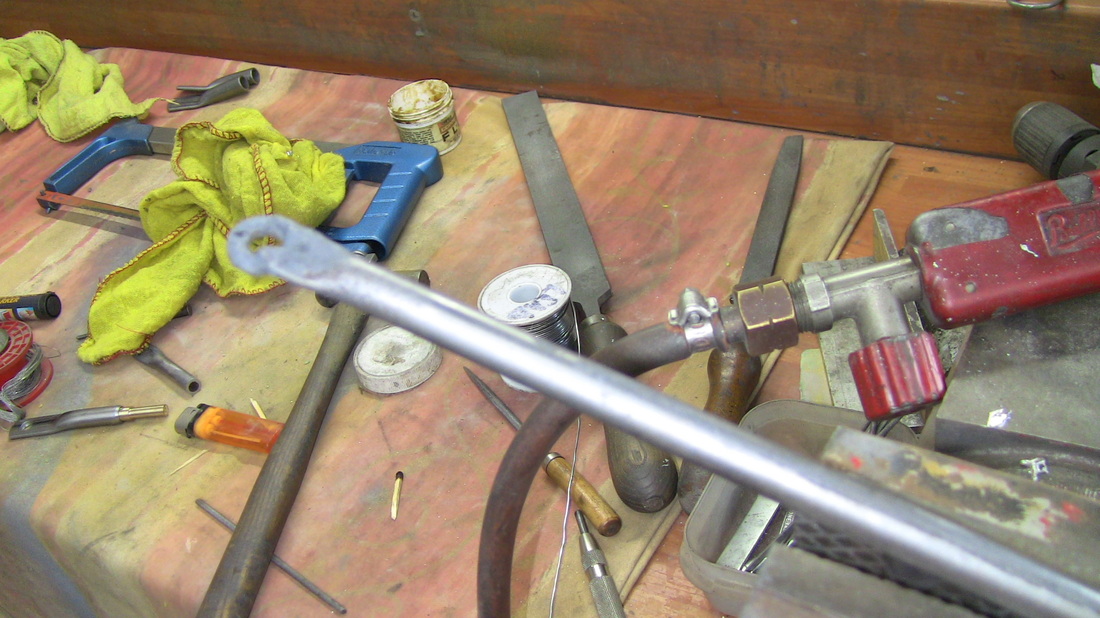
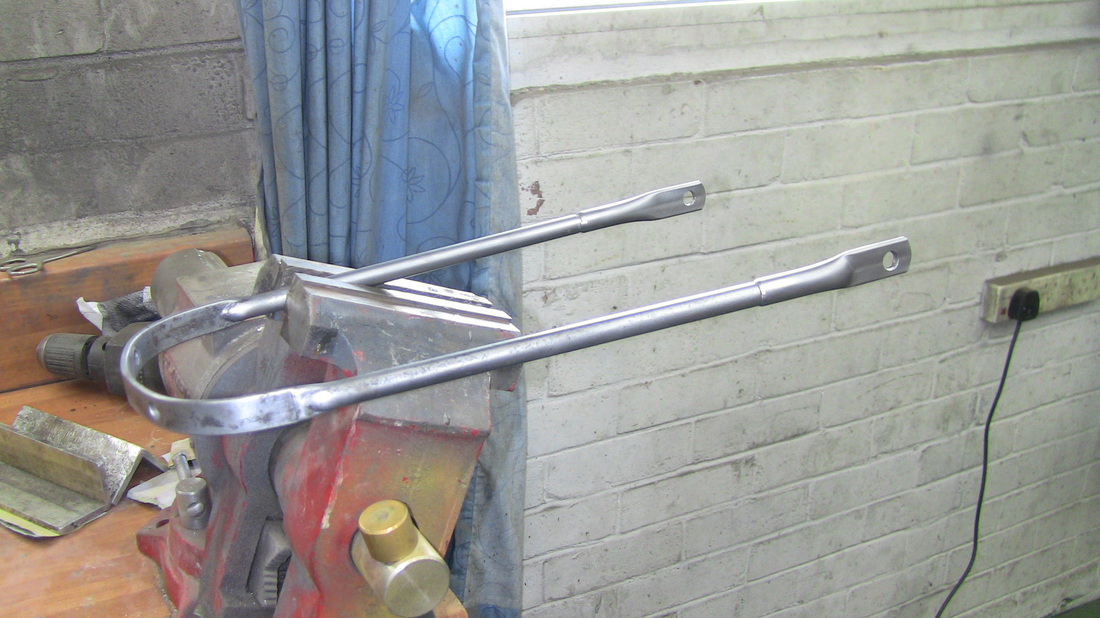
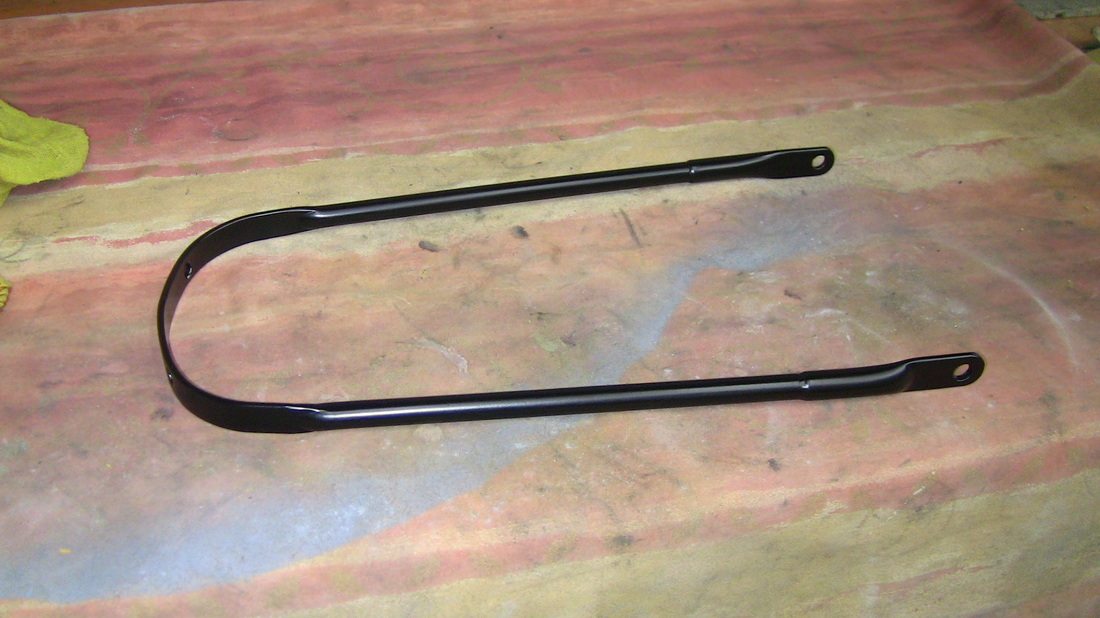
When it came to the stays, the problem was the fixing holes and the surrounding metal just crumbled away. I cut back equally each side of the stay. I obtained a set of stay ends undrilled from an advertiser in Old Bike Mart. The diameter of the metal tube part was thick enough to be carefully opened out until they were a good push fit on the original stays.
Plumbers flux was applied to the metal of the stays and the new ends The parts were then tinned with soft solder. I then fitted the two parts together while the solder was soft. When the job was cool I then drilled through the joined diameters and tapped the hole three millimetre. A brass screw was inserted right through and the head cut off.
The heat, flux and solder was reapplied so that the brass screw was firmly soldered in place. The brass srew was then filed down and smoothed flush. The completed stay was then fixed to the mudguard to determine the correct attachment point to the front fork. After drilling the stay was primed and painted.
Worn out stay ends.
New stay ends fitted.
Completed stay ready to fit.
MAINTENANCE. Oils greases and gaskets.
The Engine.Looking at the Sunbeam engine with its basic lubrication system I decided that changing the oil every 1500 miles would be common sense. I took this view because I do long mileages and the oil is always hot which is no bad thing. I also believe that straight 50 oil ( SAE 50 ) is the right one for this particular engine. This is borne out by the fact that after two hours on a French motorway on a summer's day at 60 to 70 mph, pulling into a service station for petrol, the engine is unfussed and ticks over smoothly.
Oil pressure remains at 35 PSI when tested at summer's end.
The Gearbox.
Straight cut gears permanently meshed, really simple operation with sliding dogs. So to help the gear changes along I use 20/50W oil with Molyslip for Gearboxes added.
I drain the oil at seasons end and filter it through a nylon mesh filter before returning it to the gearbox.
The Final Drive Unit.
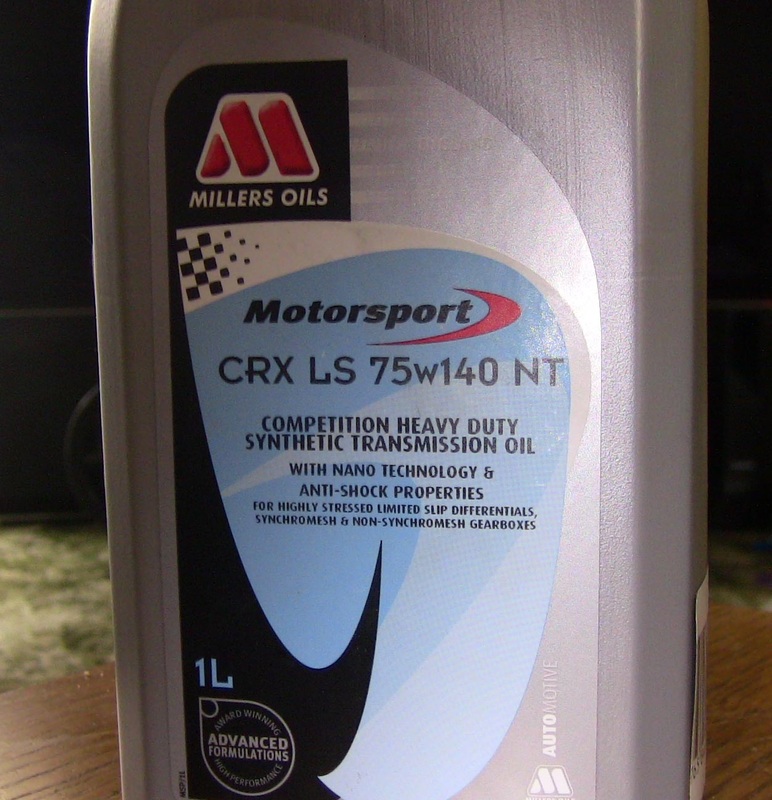
Below is a picture of the type of oil I have used in my final drive since rebuilding with a new bronze wheel two years ago. Not only does this oil reduce drag and release horsepower to the back wheel but as far as I can ascertain wear is negligible on the bronze wheel. The drive unit runs much cooler on long motorway trips. This oil is changed every year.
GREASES.
Graphite grease is used on all threads that are external to the engine. This applies to stainless as well as mild steel. Studs are inserted dry into the aluminium castings.
High melting point grease is used for all paper type gaskets. See below.
Graphite grease is used on all threads that are external to the engine. This applies to stainless as well as mild steel. Studs are inserted dry into the aluminium castings.
High melting point grease is used for all paper type gaskets. See below.
GASKETS.
I make my own gaskets where I require a heavy duty type. The rocker box cover gasket and the damper plate one piece gasket on the rear of cylinder head / block is usually made from 30 thou 'Oilite' type material as shown above. Easy to cut and punch, available in medium size sheets.
The cork gasket on the engine backplate I hold in place with a touch of proprietary gasket sealer until all the screws are inserted.
The composite head gasket I believe comes with instructions to be fitted dry. ( Ask Julie or Rob at Stewart Engineering for full details. ).
I always have fitted head gaskets dry ensuring the mating surfaces are true and flat.
Greasing points.
There is a limited number of greasing points left on the Sunbeam namely the Hardy Spicer. This is normally sealed for life anyway. The head stock lower bearings have a grease nipple which is useful.
