How to calibrate the Smiths Electronic Chronometric Speedometer.
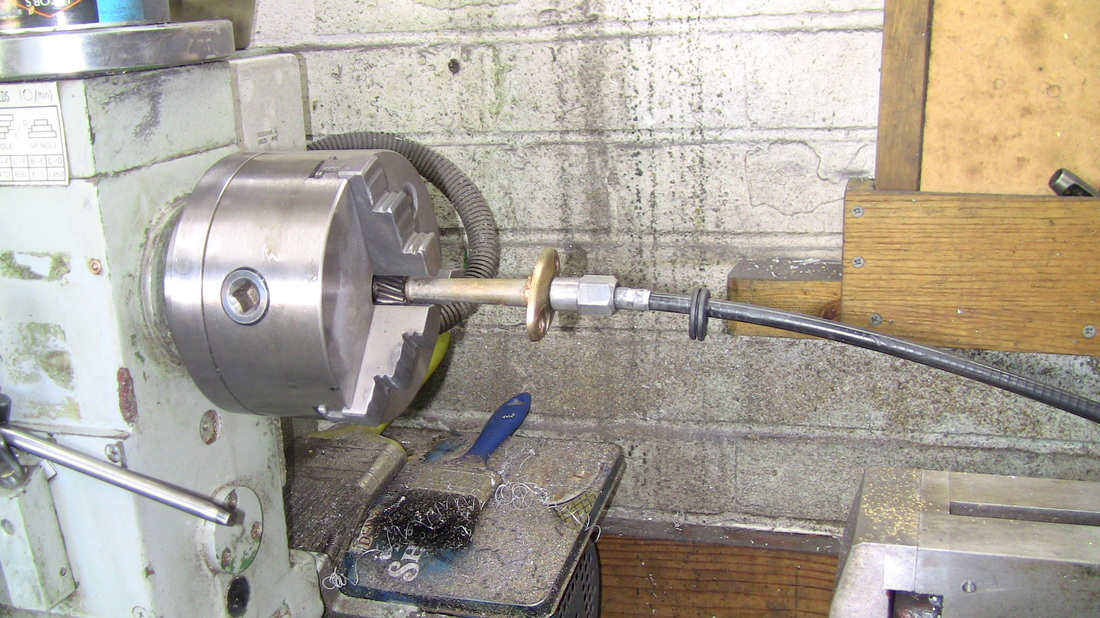
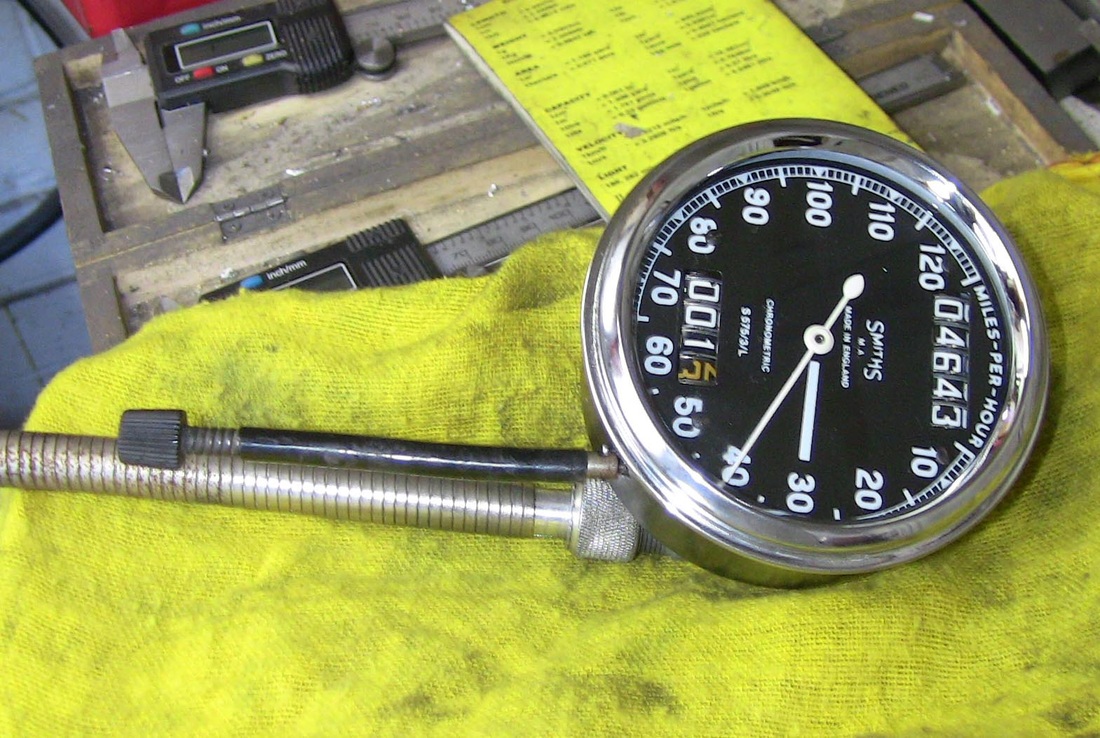
I started by spinning a spare speedometer drive in the lathe with the original mechanical cable and speedometer attached. I set the indicated speed at 30 mph. The lathe is electronically controlled so the speed can be set precisely. When I connected up the electronic speedometer I followed the instructions contained in the set up. This got the needle moving. I ended up with a value of 1655 which gave precisely 30 mph and 40 mph which corresponded on double checking with the mechanical speedometer to be spot on.
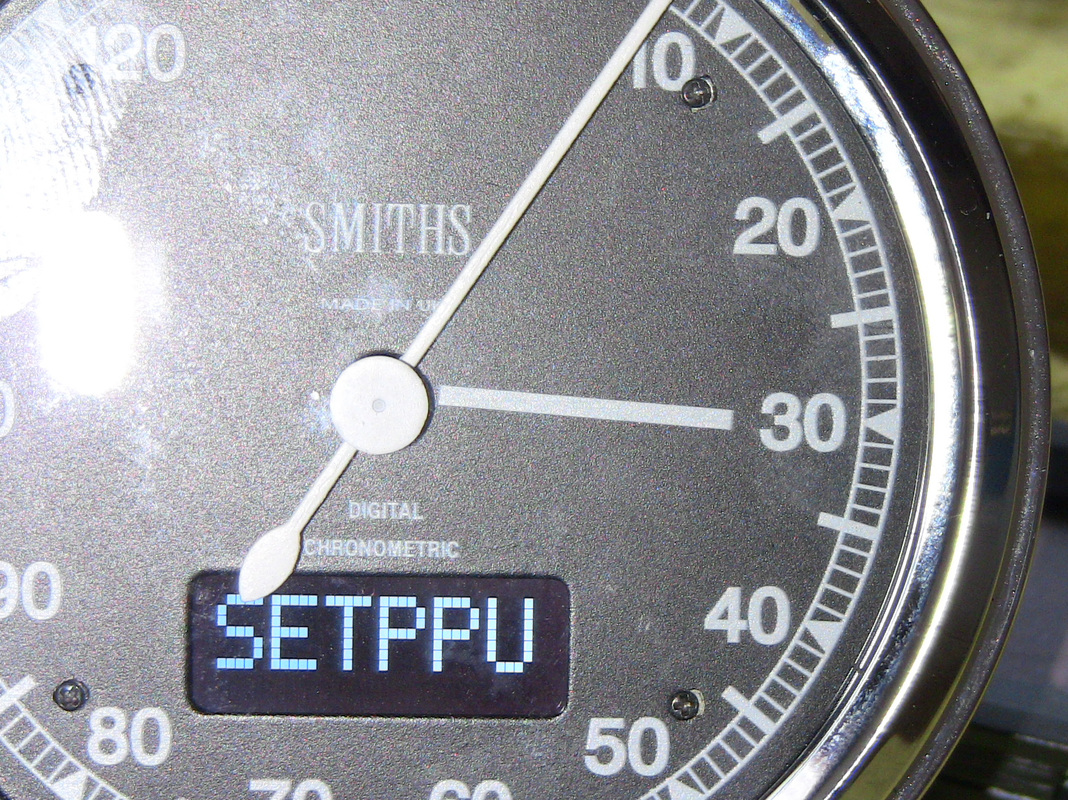
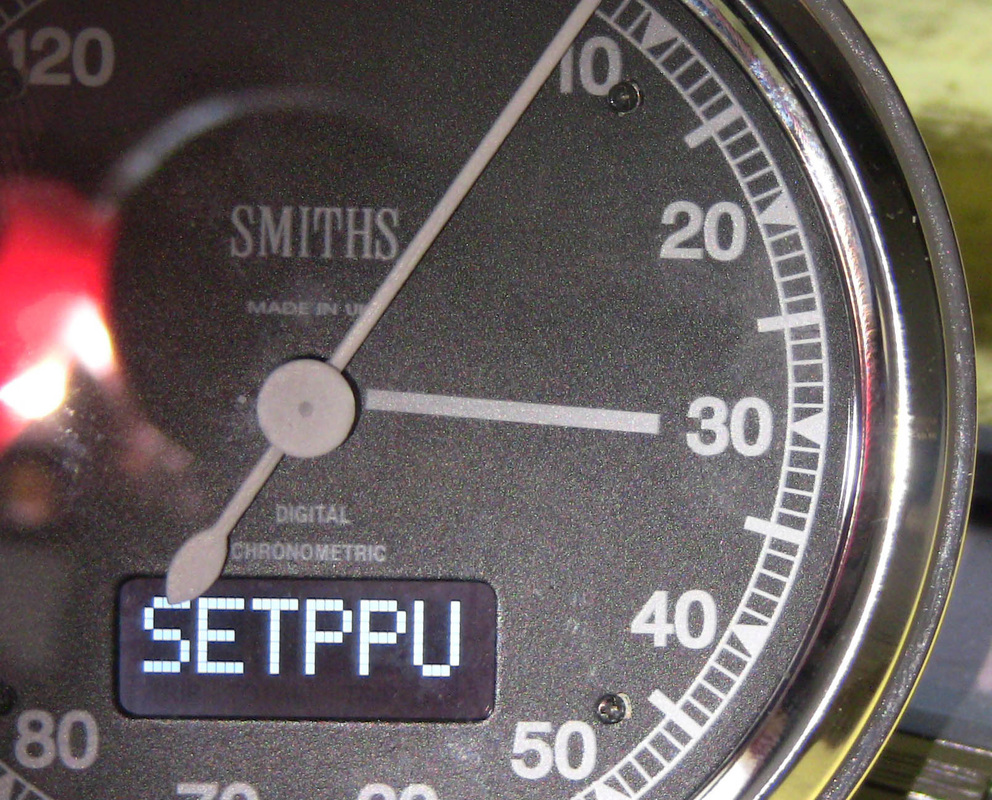
Wiring of the electronic instrument is straight forward and is covered in detail in the instruction leaflet. Basically two wires go to positive and two wires to negative, either of which can be switched. Two wires go to the transducer and a brown wire goes to a small momentary push switch connected to negative. This push switch does all the functions and calibration. So holding in the push switch as the ignition comes on the display will say SETPPU. Keep holding the push switch in and the display will change to six zeros.
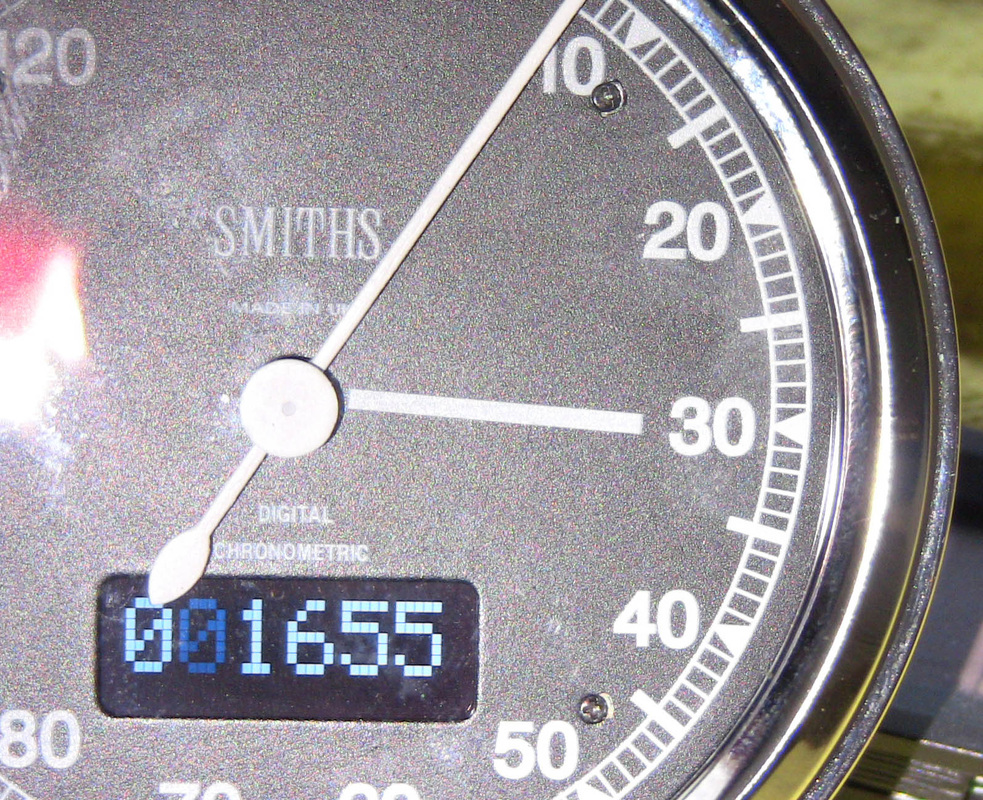
This is shown in picture one below and picture two below..
Picture one ( above )
Picture two ( above ). This is showing calibrated value.
The six zeros will blink in sequence from the left. As each one flashes a press on the push switch will count up from 0 to 9. As you can see the second leftmost digit is blinking ( blue in photo ). As you can see I have set the instrument to 1655. The higher the number the lower the speedometer reads. The incremental steps are very fine which means calibration can be very precise.
Picture Three. ( above )
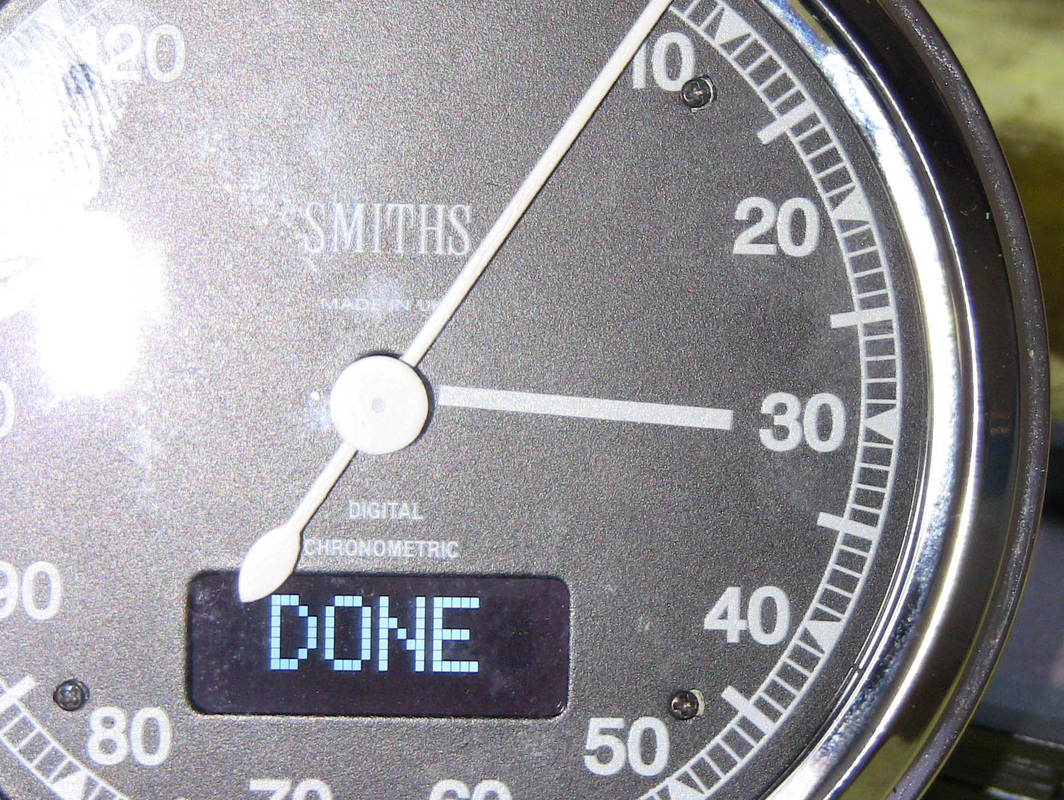
When all of the digits then blink together press the push switch and DONE appears in the display
When all of the digits then blink together press the push switch and DONE appears in the display
After a few seconds SETPPU appears, switch off ignition. Calibration is now complete. I would think that the value 1655 would be fine for Sunbeams, If the push switch is fitted in the hole in the headlamp shell where the reset knob came through, not only is it convenient to switch between 'TRIP' and 'TOTAL' mileage but very fine adjustments can be made to the calibration. The push switch is also used to switch between smooth and tick needle movement.
QUICK SETUP GUIDE.
One. Hold in push button and switch on ignition. Keep push button depressed.
Needle will sweep dial and display shows SETPPU then show six zeros. Release push button.
Two. Zeros will blink in turn starting at left.
Three. To set the number you require press the button repeatedly on the zero that is blinking.
Four. When all numbers are set the display will blink.
Five. Press push button once. Display will say DONE for a moment then say SETPPU.
SIX. Switch off ignition. Finished, all calibrated and set.
