Converting to a full width front brake.
The S8 front brake is a little lacking for modern roads. I looked at the BSA eight inch single sided brake. Obtaining a hub and brake assembly is very costly as they are much sought after. Logic then said the light alloy full width hub and brake as fitted throughout the late nineteen fifties to BSA and Ariel heavyweights would be a cost effective answer.
The fork spacing as set by the yoke seems to be a constant across the BSA range. Therefore the full width hub would fit with no modifications. The lower fork sliders would need changing as the spindle bosses are different for the full width hub. I found that these are in good supply on the second hand market, I obtained a complete set of sliders and stanchions for £50. Changing the lower fork sliders would not cause any problems. The lugs for the mudguard stays were also a standard size and positioning. So it was just a case of removing the Sunbeam sliders and fitting the BSA/Ariel sliders. They are the same length and the same threads for the chrome oil seal holders. The light alloy full width hubs and brake plates as fitted to the Ariel/BSA range 1955 to 1959 are out there at very reasonable prices. I got two hubs at £30 and one complete brake plate for £25. This was a huge difference when compared to the cost of a rusty eight inch single sided brake offered at £200 !
I decided not to rebuild the wheel, so I built up a new wheel to save money. The only requirements for new parts were a front wheel spindle, (available from Draganfly motorcycles) . The brake torque arm I picked up at Stafford show for a tenner. I obtained a twin leading shoe brake assembly and that was eventually fitted. Probably a bit overkill !
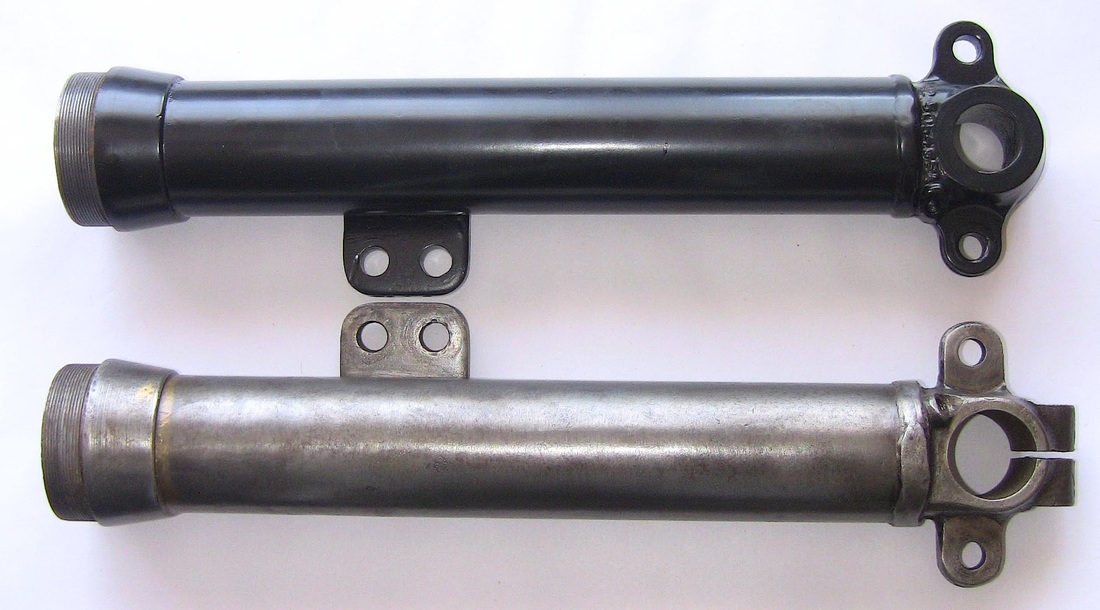
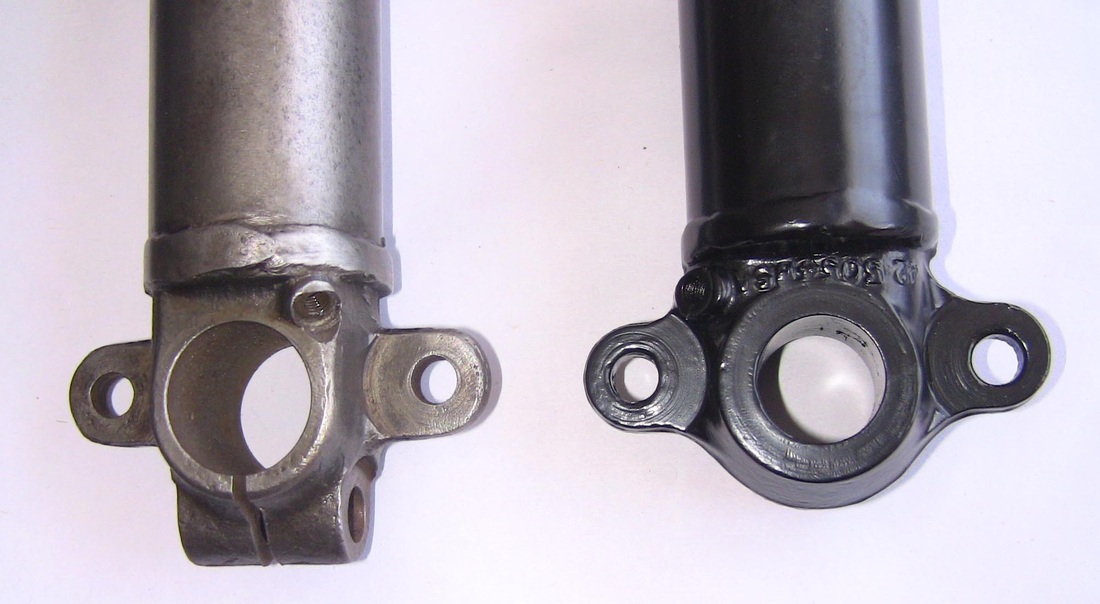
Ariel/ BSA fork sliders and close up of spindle bosses.

The painted Ariel/BSA sliders ready to be assembled to original stanchions.
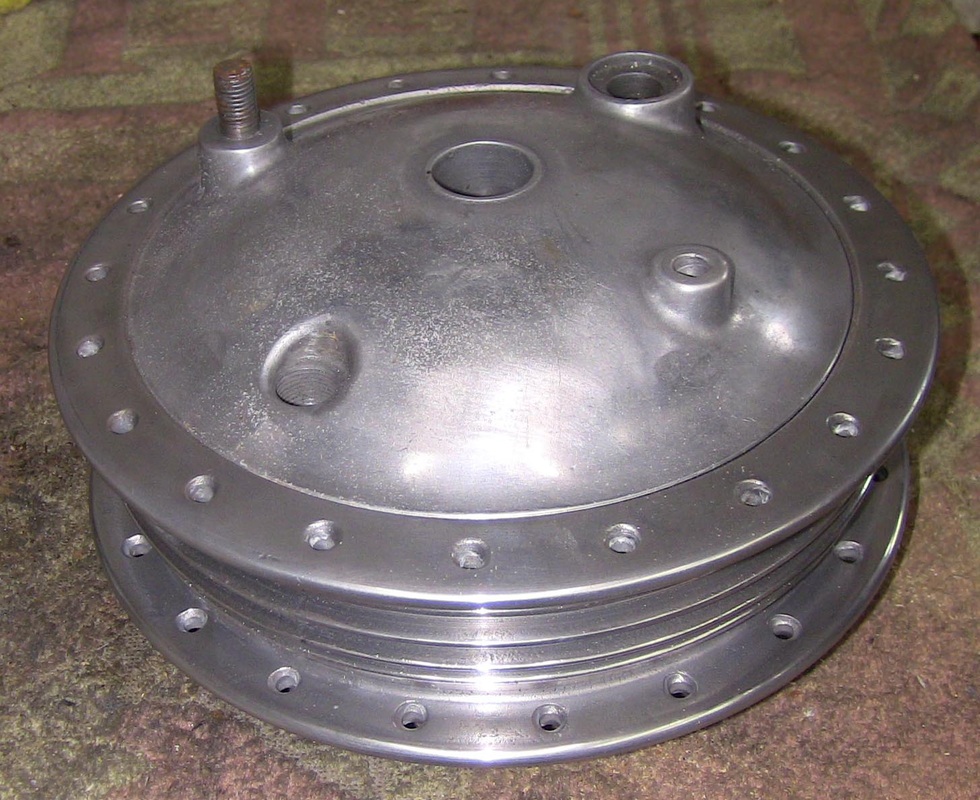
Refurbishing an Ariel/BSA hub.
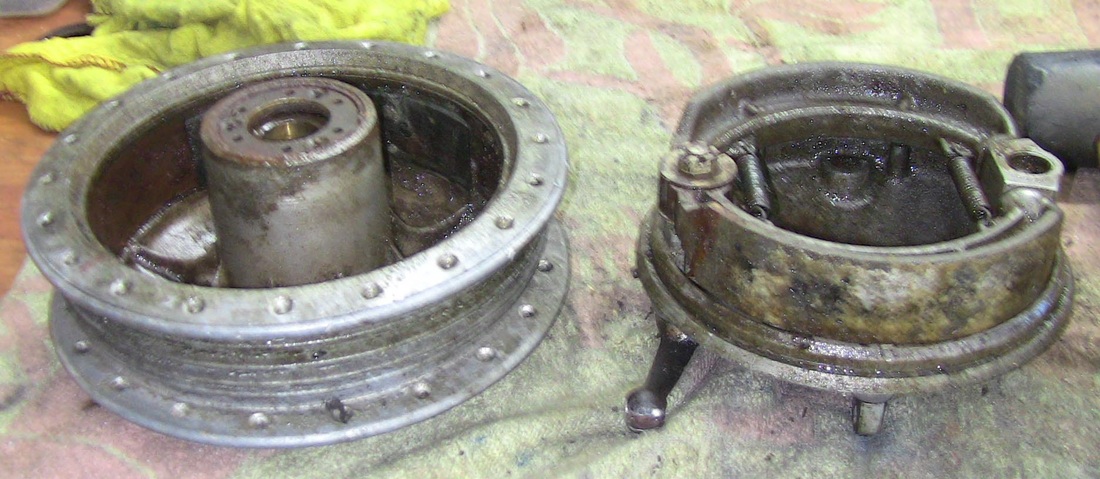
The hubs are now several decades old and are usually neglected. The pictures below show the process of restoring one such example.
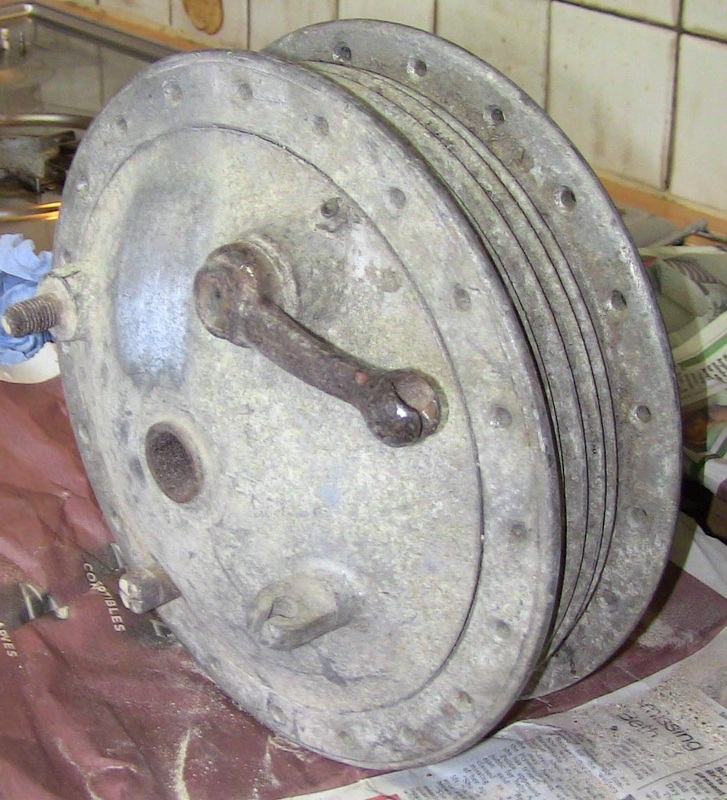
The hub assembly is seized so first job is to soak it in Plus Gas every 24 hours. After two or three weeks some gentle persuasion with a rubber mallet should result in the picture below.
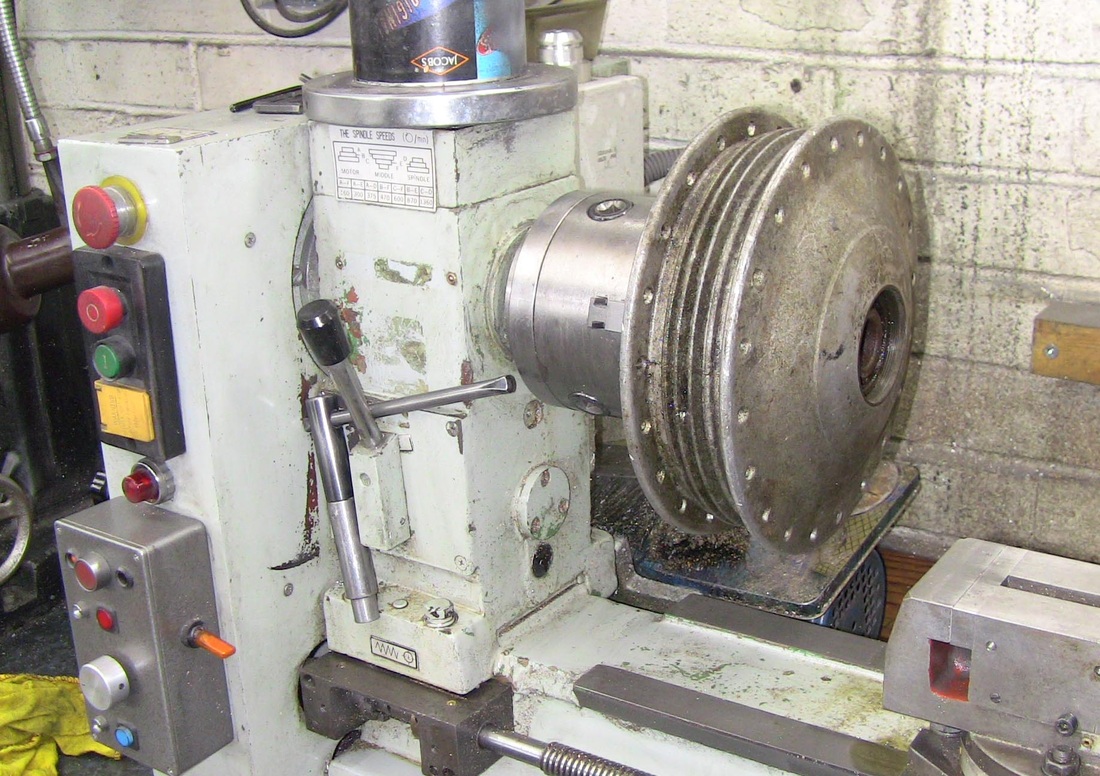
Having a Chinese lathe which has a large swing over the bed enables the hub to be spun and cleaned.
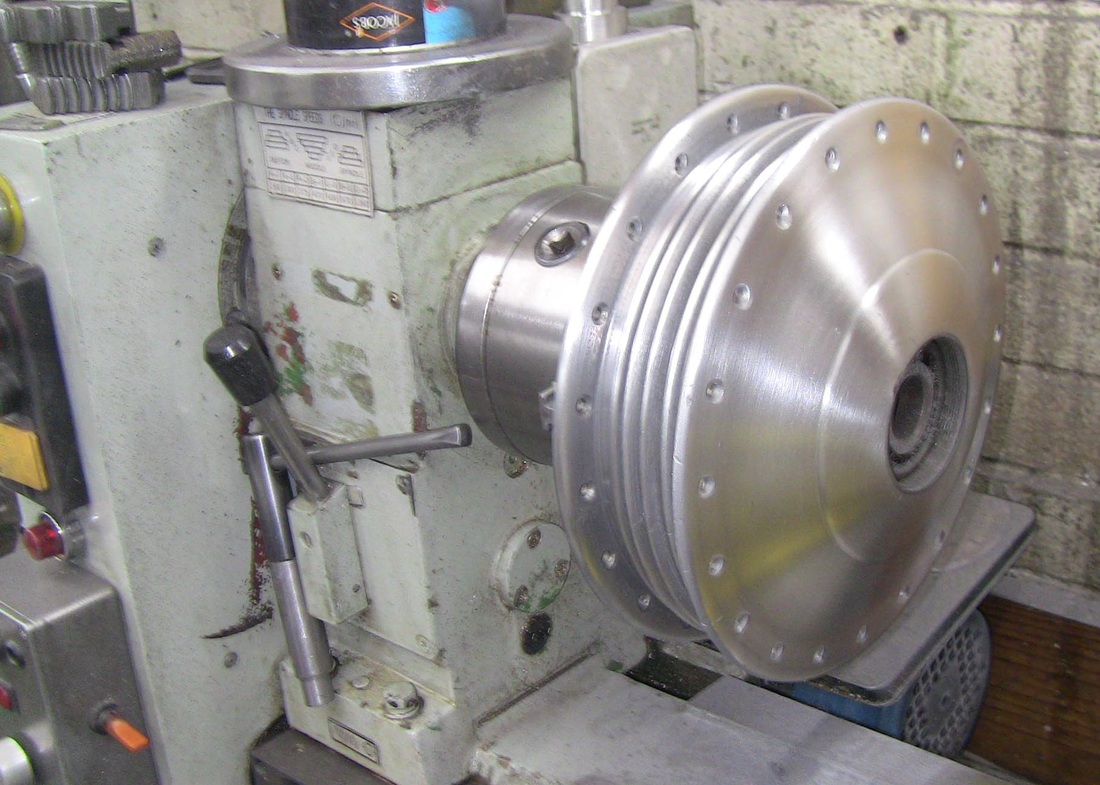
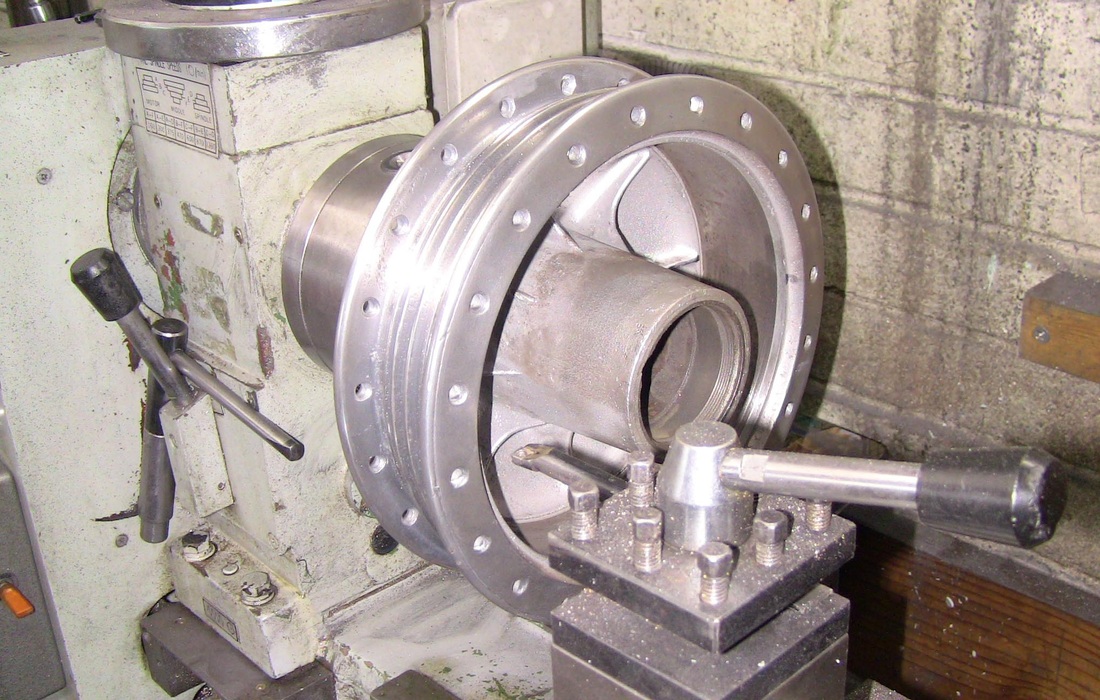
Next stage after cleaning is to lightly skim the iron liner to remove rust.
Strip brake plate and polish.
At this stage new sealed bearing are fitted. The brake shoes are relined with modern high friction liners and the brake plate reassembled.
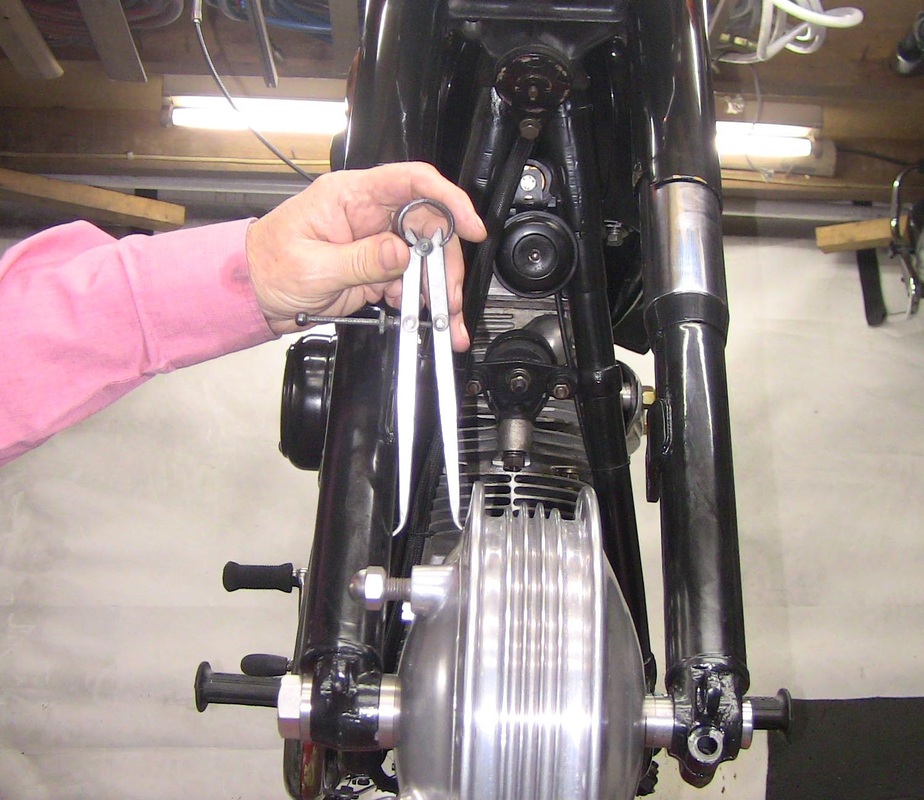
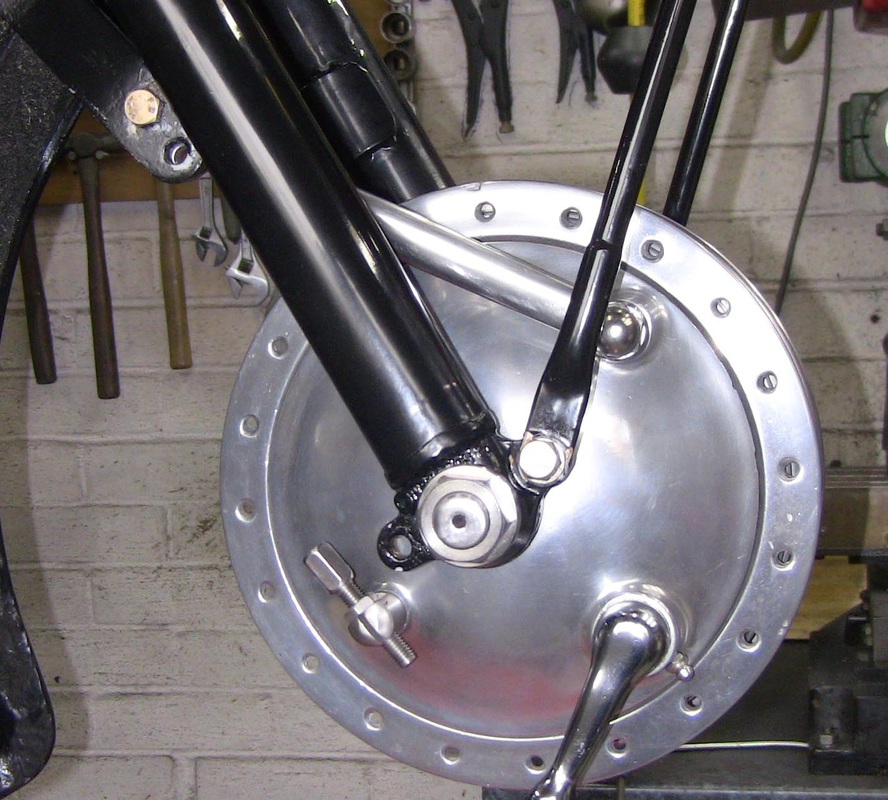
Checking everything is assembled correctly.
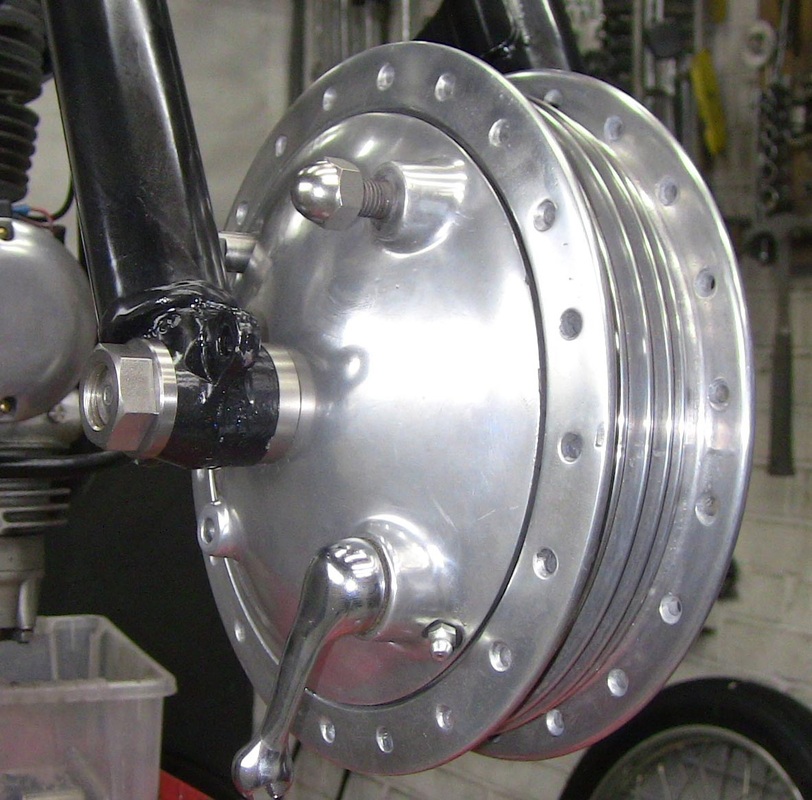
The brake torque arm in position.